Making a Buck (as fast as I can!)
I have a monthly gig I do for some friend’s here in Asheboro in which I draw a little turtle mascot for their local magazine “Asheboro and More” his name is Randolph and he’s got a little frog buddy who hangs around with him. Here they are in their inaugural appearance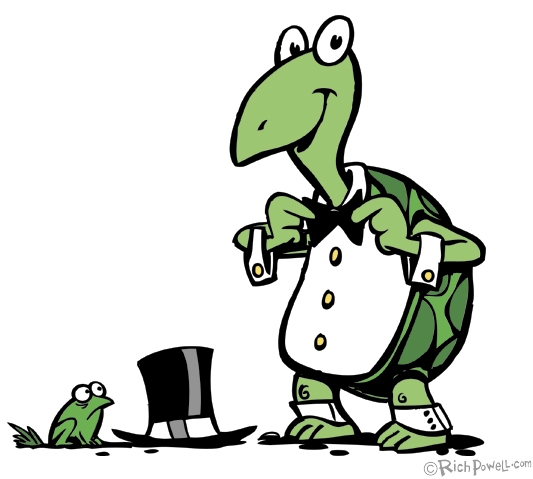 .
.
Looks like the frog is a little concerned about the monkey suit.
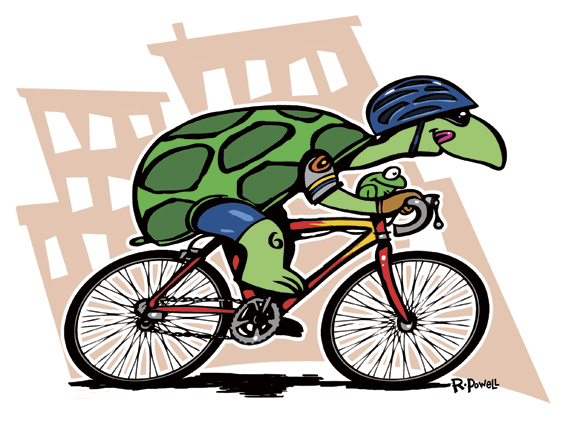
Anyway, this month we’ve got a bike race downtown..a Criterion to be exact, so Dave wanted Randolph to be riding a bike. Off I went.
Now, like I said it’s a small, hometown magazine and these folks are friends so I’m not charging very much to do one of these things (I get that a lot around here!) therefore, speeeed is of the essence! The faster I get this done, the more I make per hour, right? This entry is about some of the tricks I use to get a clean, print-ready, vectorized pdf out in a hurry.
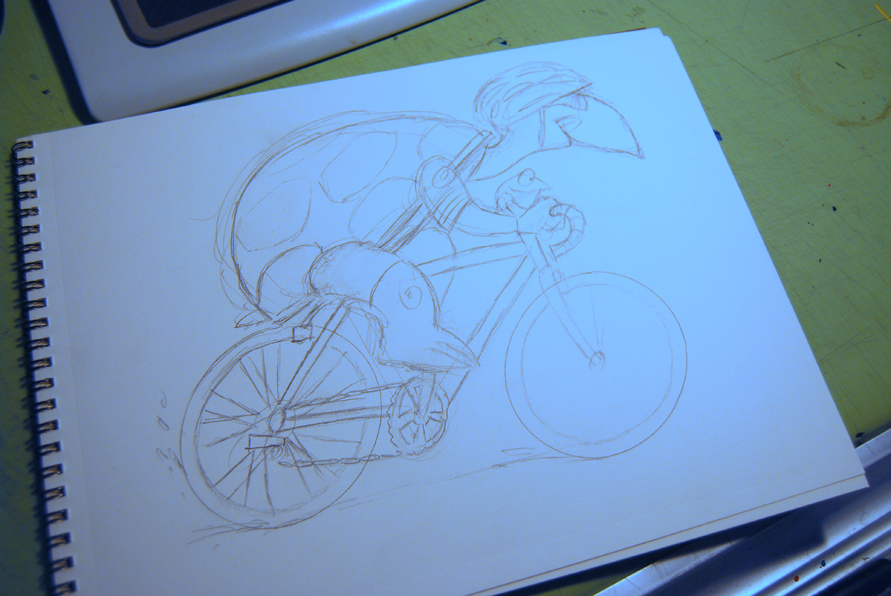 My initial sketch is very rough. I’ll google the image of the bike to get the parts right and then somehow make it look as though a turtle could sit on the damn thing. I’m tweaking the size of his legs here and there appears to be no seat whatsoever. I started doing the spokes but, knowing the clean style they like this guy to appear in, I figured it’d be a whole lot quicker to lay them out in Photoshop! Remember? Speeeed!
Next, I lay a sheet of tracing paper on the sketch and do a quick inking. I try to stay fairly clean here but I’m going as fast as I can and there will be mistakes.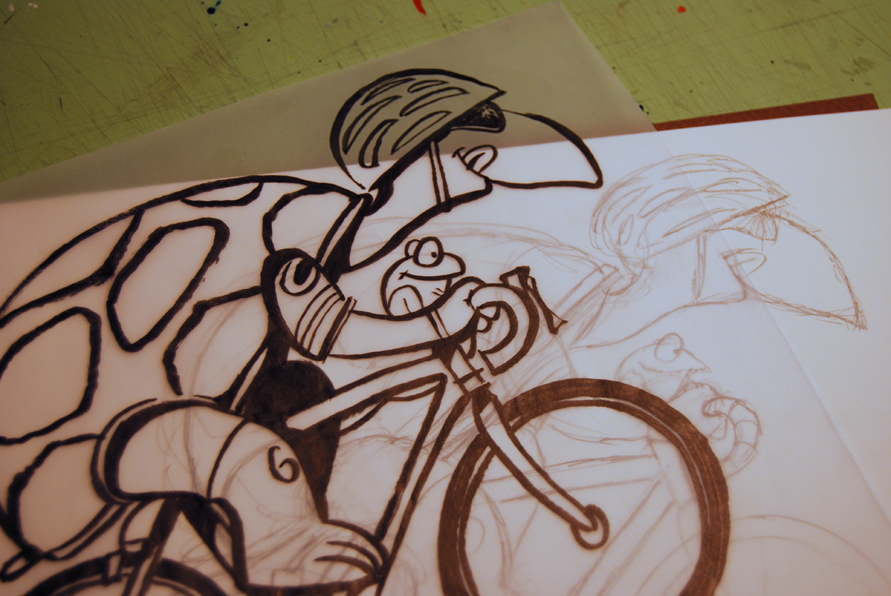 Again, I know I’ll clean up big mistakes in Photoshop.
I’m using cheap tracing paper and a Pentel Colorbrush pen because it’s quick and dirty and I’m not saving this thing for my posthumous show at the Metropolitan Museum of Art. Chances are, it’s landfill bound.
These Pentel Colorbrushes are cool, you simply screw an ink filled cartridge onto a brush tip and away you go. You can squeeze the cartridge to load the brush. The ink is not waterproof so I only use them for this type of thing, if I was going to do watercolor on top of the ink, I’d use my Superblack with an actual brush.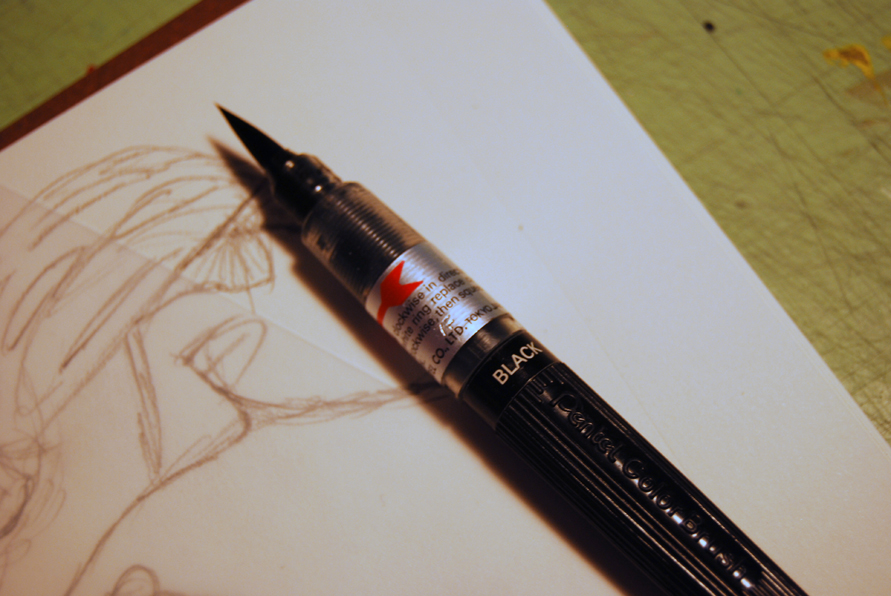
Next, I scan the inked drawing into Photoshop, clean up any spatters, really rough lines and any mistakes (like the extra eye on the frog and the high back leg on the turtle…it should be low, right?). I also erased the wheels altogether and added them and the spoke on a separate layer using geometric tools. Much simpler.
Now here’s the really tricky part. Before I add the color, I take the cleaned up inked drawing into Adobe Illustrator and use the “Live Trace” feature. This is an interface that traces your drawing and converts it to vectors. It took FOREVER to get Adobe to come up with this one but it’s a goodie. The nice thing about Live Trace is that you can tweak the “tolerance” setting of the tracer to ignore minor bumps etc. I have a setting that really simplifies the drawing and leaves me with a nice. clean line. Then, I bring this back into Photoshop, tweak it a bit and then color it. You can see squashed the whole thing a bit. While coloring I threw in some simple background buildings since the race is going on downtown. Next, I added a white “Stroke” to the turtle to separate it from the buildings.
This all goes back into Illustrator and gets “Live Traced” again. Turning it all back into vector again. Here’s a shot of that.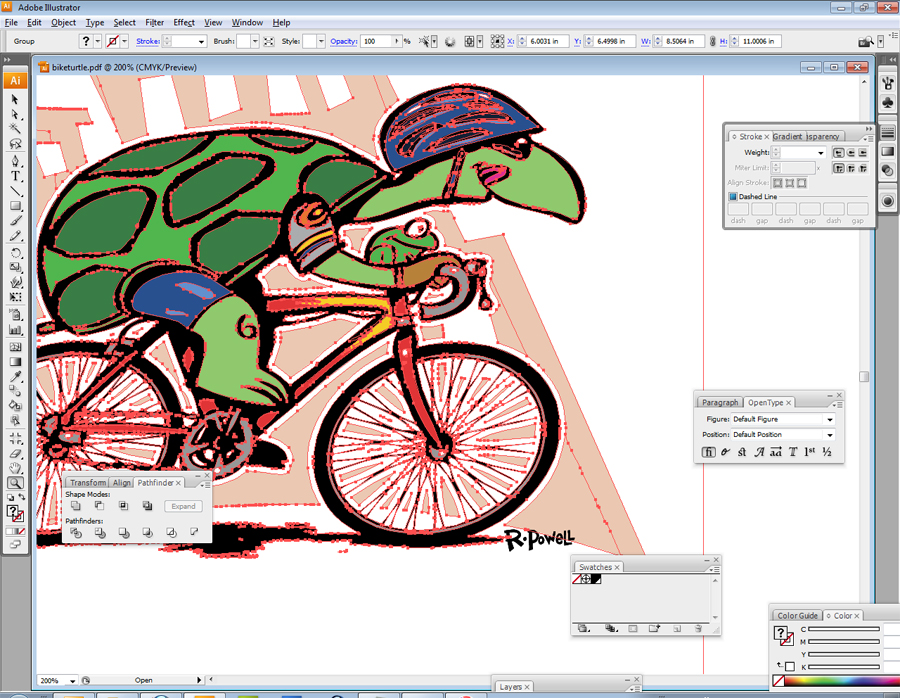 You can see the little outlines and curve handles surrounding the art. The benefit of this is that it makes the file very small yet infinitely scalable. I can easily e-mail it to Dave and he can pop it right into his layout, scale it up or down and have all the turtleey fun he wants!
And that, my friends, is what’s called “whipping out the ol’ turtle”!

How long, start to finish?
Whoops! Sorry…about an hour and 15